Run Ubuntu Server from USB; Easily create a Live USB Bootable Ubuntu Server using YUMI from within Windows. The following process covers one way to Install, Boot and Run Ubuntu Server from a USB Flash Drive. Upon completion, you can then use the portable version to Run Ubuntu Server Edition Live or install to an internal Hard Drive. This is very useful if your computer does not have a CD/DVD Drive, but can boot from a USB device.
Live USB Bootable Ubuntu Server
Distribution Home Page: Ubuntu Server Project
Persistent Feature: No (unnecessary)
Essentials to Run Ubuntu Server on USB
- Windows 11, 10, 8, or 7
- ubuntu*live-server*.iso
- A Fast USB drive (Best Fast USB flash drives)
- YUMI (does the Live USB Boot conversion)
How to Create a Live USB Bootable Ubuntu Server
- Download and run the YUMI Multiboot USB Boot Maker
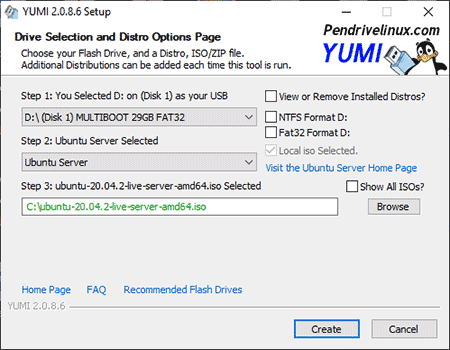
- (1.) First select your USB drive from the drop down list.
(2.) Next, choose Ubuntu Server from the list of distributions.
(3.) Browse to your ISO file, and then click Create.
- Once the YUMI script has finished:
(1.) Restart your PC and enter your system BIOS/UEFI using a hotkey.
(2.) Set your Boot Menu to boot from the USB device and save your changes (F10)
(3.) Continue booting your computer from the USB flash drive.
How to Boot and Run Ubuntu Server from USB
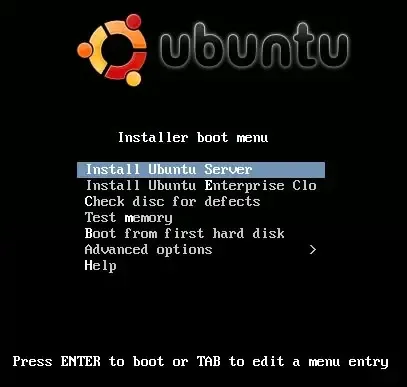
While booting from your Ubuntu Server prepared USB flash drive, you should be presented with the YUMI Boot Menu. From the list of OS bootable entries:
- Simply select the option to boot Ubuntu Live Server from USB.
- Then press Enter to begin to boot from the ISO.
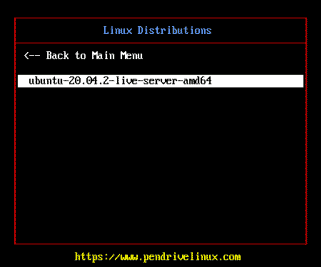
If all went well, you should now be running from your bootable Ubuntu Server USB. Enjoy!

