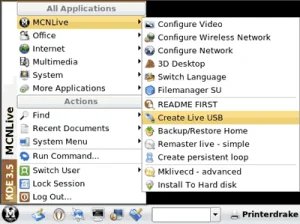
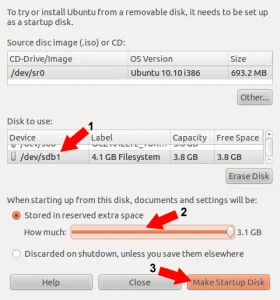
Make a USB NimbleX; The following covers the process of creating a NimbleX bootable USB flash drive by using the Live CD. Much like SLAX, this tiny Slackware based release is (less than 200MB). It was originally designed to fit on a 8cm CD. The screenshots and this tutorial was originally put together and submitted by Georgescu Ciprian, and edited by Lance.
What is NimbleX Linux?
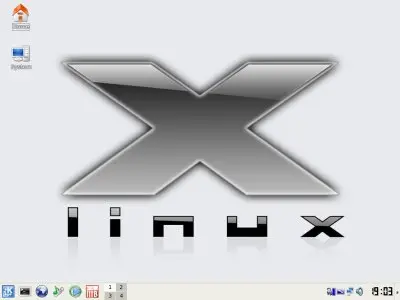
This lightweight and customizable Linux distribution is designed to be run from a live CD or in our case, a USB flash drive. It aims to provide a fast and flexible computing environment, and it includes a variety of handy pre installed applications to be used for various tasks.
- Distribution Home Page: Project Page
- Developer: Bogdan Radulescu
- Release Date: First released in 2007
- Minimum Flash Drive Capacity: 256 MB
- ISO Size: < 200 MB
- Persistent Feature: Yes
NimbleX bootable USB Essentials
- USB flash drive (a fast SSD USB drive is recommended)
- NimbleX ISO file
- CD Burner
How to Make a NimbleX Bootable USB Flash Drive
- Download NimbleX ISO file and burn it to a CD.
- Boot your PC from the CD.
- From the Home icon (on the Desktop), double-click the "NimbleX USB Install" icon.
- Press Enter or click (OK) after you have read the installer notice.
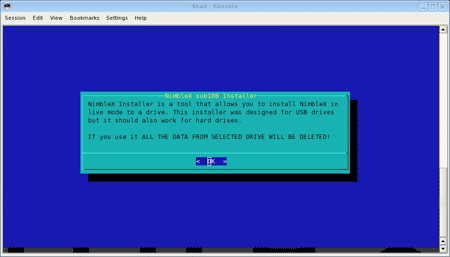
- Carefully select which drive you want to install to.
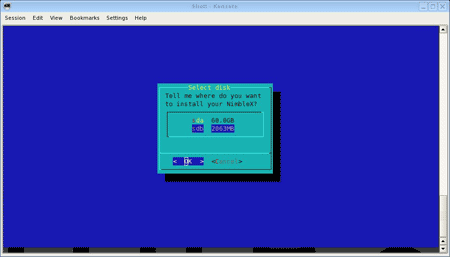
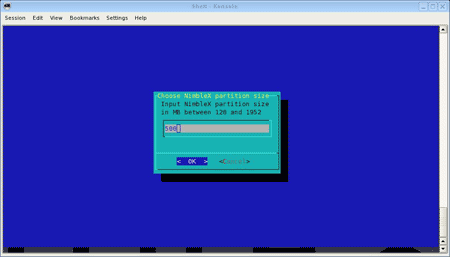
- Adjust how much space to reserve for your NimbleX USB.
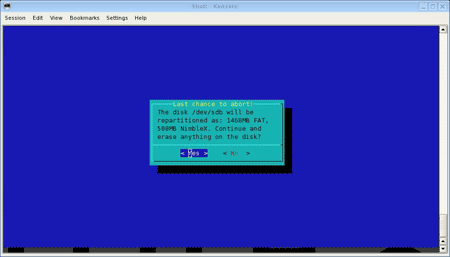
- Read the format warning and, if you are sure press Enter.
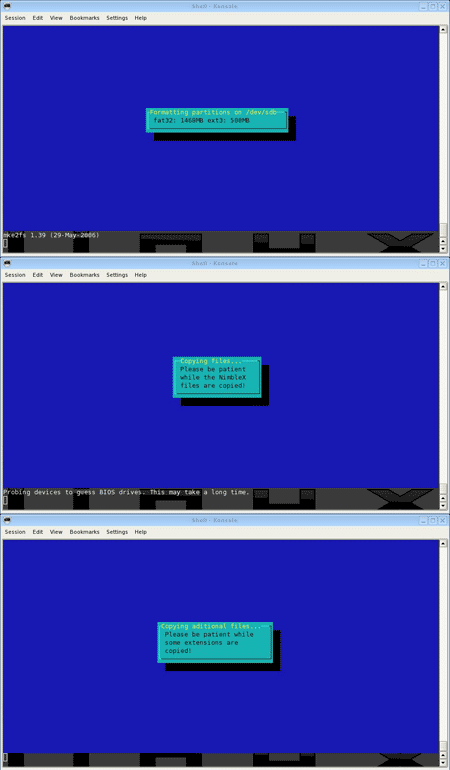
- The next three Screenshots show the USB installation progress.
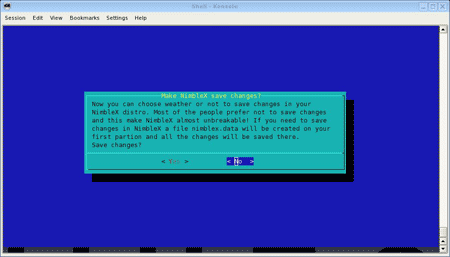
- You can make a choice to save changes persistently (persistence).
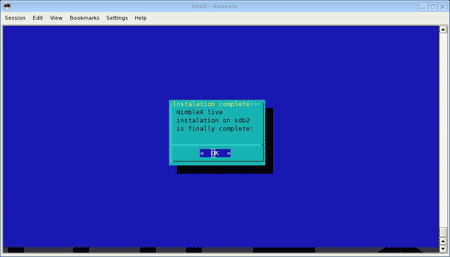
- The last screen tells you that the Bootable USB creation is complete.
That is all there is to it. To start booting from the freshly prepared thumb drive:
- Leaving your pendrive inserted, proceed to reboot your computer.
- Enter BIOS, by pressing a specific key during the startup, before the Windows logo appears.
- Set your system BIOS to Boot from the USB and then save changes, using F10.
- Continue startup, booting from your Live Linux USB pen drive.
Enjoy!

