In the following section, I will show you how we installed Puppy Arcade to a USB Flash Drive using Windows. Puppy Arcade (created by Scott Jarvis), is a remix of Puppy Linux with a strong focus on Console Game Emulation. It includes some of the most popular Console Game Emulation software available for Linux. Of course you will still need to supply your own game ROMS.
Some of the Console Game Systems that can be emulated include; Amiga, Atari, Amstrad, Arcade Machines, Colecovision, Commodore (64/128/VIC20/PET), GameBoys (GB, GBC, GBA), GameGear, Genesis, MasterSystem, MS DOS, NeoGeo, NeoGeo CD, NES/Famicom, PC Engine/TurboGrafix 16, PSX, Scumm, SNES and ZX Spectrum.
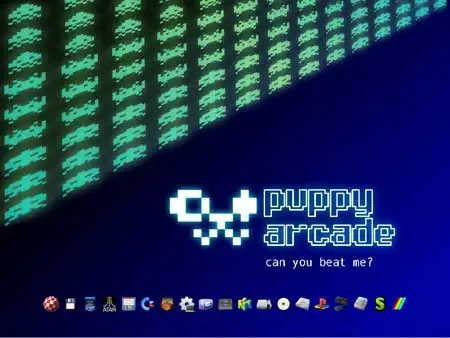
Puppy Arcade running from USB

Distribution Home Page: Abandoned
It appears this project has been abandoned. However, you can still find ISO Downloads from the archive.
Minimum Flash Drive Capacity: 128MB (more with persistence)
Persistent Feature: Yes
Bootable USB Creation Essentials:
- Windows PC to perform conversion
- puppy-arcade*.iso
- USB flash drive (fat32 formatted)
- YUMI (does the USB conversion)
How to Create a Puppy Arcade Live USB
- Download and launch the YUMI Multiboot USB Software
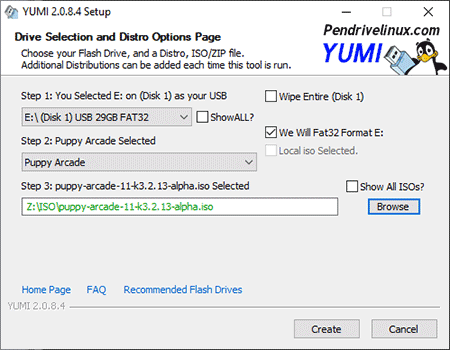
- (1) Select your Flash Drive. (2) Then select Puppy Arcade from the list of distros. (3) Browse to your ISO file and then click Create.

- Once the script has finished, restart your PC and set your BIOS or Boot Menu to boot from the USB device, save your changes and reboot
If all went well, you should be booting from your Live Puppy Arcade USB. You will be prompted to create a persistent file for saving your session data on shutdown. Just select your USB device when you are prompted.


