
Easily create a Kubuntu Live USB flash drive with Persistence from a Live CD: Looking to run Kubuntu from a USB flash drive without installing it on your computer? In this simple tutorial, you will learn how to use Ubuntu's official Startup Disk Creator to create a Kubuntu Live USB. This tutorial also covers Casper Persistence, which allows you to save files, settings, and installed applications so that they remain available every time you boot from your USB.
Kubuntu is a variant of Ubuntu featuring the KDE Plasma desktop environment instead of GNOME, providing a sleek, customizable, and simple GUI.
Kubuntu Running from a Live USB

Distribution Home Page: Kubuntu.org
Persistent Feature: Yes
Kubuntu Live USB from CD Prerequisites
- Kubuntu Live CD or DVD
- Computer with a working CD/DVD drive
- USB flash drive
Creating a Kubuntu Live USB Flash Drive
Note: Back up all data from your USB flash drive before proceeding
- Download the ISO: Get Kubuntu and burn it to a CD or DVD.
- Boot from Live CD: Restart your computer and boot from your Live CD.
- Insert USB Flash Drive: Once your system is running, insert your USB flash drive.
- Open Startup Disk Creator:
- Click the KDE Start button
- Type "Startup Disk Creator" in the search box
- Select the "Startup Disk Creator" option

- Select Flash Drive:
- Choose your Flash Drive from "Disk to use"
- Select "Erase Disk" (make sure you have backed up all important data)

- Set Persistence:
- Select the device partition related to your Flash Drive
- For Persistence, choose "Stored in reserved extra space" and adjust the slider to the desired capacity
- Click "Make Startup Disk"

- Complete Installation:
- A progress bar will show completion percentage. Once finished, remove the CD.
- Restart your computer and set your BIOS to boot from the USB device.
If all goes well, you should now be booting from your USB flash drive and can continue running Kubuntu from the Live USB with persistence enabled.
Installing Kubuntu from USB
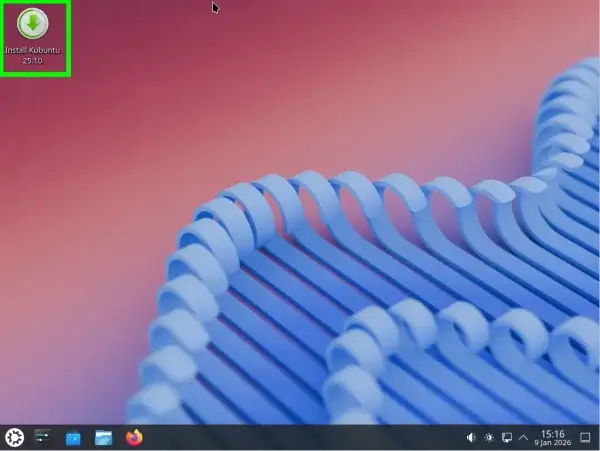
You can also install Kubuntu from the USB flash drive to a hard drive. Simply choose the "Install Kubuntu" shortcut on the desktop when running from the Live USB.
Frequently Asked Questions about Kubuntu Live USB
Can I run Kubuntu directly from a USB flash drive?
Yes, using a Kubuntu Live USB you can run the operating system without installing it on your computer. You can try all features and even save files if you enable persistence.
What is persistence in Kubuntu Live USB?
Persistence allows you to save changes, installed applications, and personal files on your USB flash drive. Every time you boot from the USB, your data and settings are restored.
Do I need a special USB flash drive for Kubuntu?
No special drive is required, but we recommend using a USB 3.0 drive with at least 4 GB capacity for better performance and storage of persistent data.
Can I install Kubuntu to my hard drive from the Live USB?
Yes, while running Kubuntu from the USB, you can use the "Install Kubuntu" shortcut on the desktop to install it to any compatible hard drive.
Will creating a Live USB erase my data?
Yes, the process will erase the selected USB flash drive. Make sure to back up all important data before proceeding.
Which tool is used to create a Kubuntu Live USB?
Ubuntu's Startup Disk Creator is the recommended tool. It is included in the Kubuntu Live CD and allows you to create a bootable USB with optional persistence.