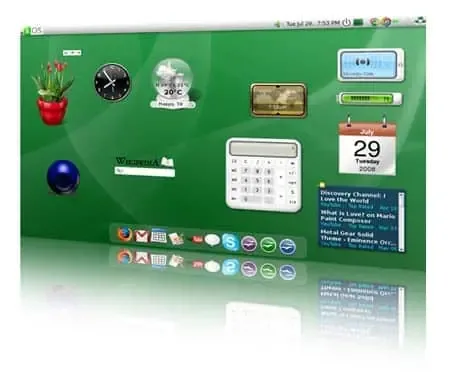
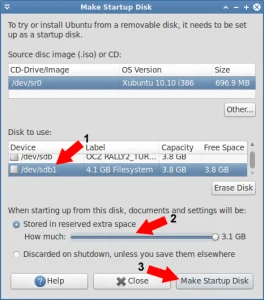
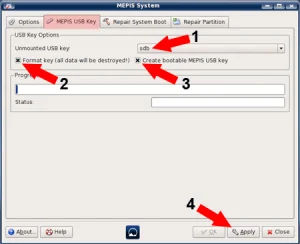
The following tutorial covers the process of creating a gOS 3 Gadgets Linux OS USB Flash Drive using the Live CD. In addition, the Ubuntu based casper persistence overlay option can being utilized for saving and then restoring some of your changes, automatically. Good OS is based on Ubuntu and features the Gnome desktop environment with Wbar. It features a dock and stack that looks and functions much like Mac OSX fan view. The Gadgets version also incorporates many useful Google Apps, open office, wine, skype and more.
gOS Gadgets on USB

- Distribution Home Page: thinkgos.com
(discontinued project) - Developer: Good OS LLC corporation
- Release Date: First released in 2007 (last release in 2009)
- Minimum Flash Drive Capacity: 1GB
- Persistent Feature: Yes
What is gOS?
gOS was a product of Good OS LLC corporation. It was commonly found on sub $200 Walmart Everex Computers. This Live Linux distribution was offered between 2007 and 2009, and was later discontinued. It is no longer actively being developed.
Short for "good OS," it was a Linux distribution based on Ubuntu, which itself is based on Debian. gOS gained attention for its focus on providing an easy to use web centric operating system. It was designed to integrate seamlessly with Google services and other web applications, making it a lightweight and user friendly option, particularly for users who heavily relied on cloud based tools.
Here are some of its key features:
- Web Centric OS Design: It was designed to be heavily focused on web applications. It included shortcuts and easy access to various Google services, such as Gmail, Google Calendar, and Google Docs, directly from the desktop.
- Simplified Interface: The desktop environment featured a simplified and user friendly interface. The goal was to provide an operating system that was easy to use, especially for users who primarily used web applications.
- Integration with Google Gadgets: It incorporated Google Gadgets, small applications that provided information and functionality, directly onto the desktop.
- Open Source and Based on Ubuntu: gOS was built on open source technologies, leveraging and based upon the Ubuntu Linux distribution. This meant that it inherited the stability and software repositories of Ubuntu.
- Lightweight and Fast: The focus on web applications and a streamlined interface made it a lightweight and fast operating system, suitable for older hardware or users looking for a simple and quick computing experience.
- gOS Space: It included a feature called "gOS Space," which was a dock-like interface that provided quick access to applications, web links, and system settings.
The distribution gained popularity around the time of the Netbook craze, as it was seen as a suitable operating system for lightweight and portable devices. However, development was discontinued, and its last known release was in 2009.
Essentials to make a gOS3 Bootable USB drive
- CD ROM Drive
- Working internet connection
- gOS 3 Gadgets ISO -> CD
- USB flash drive
How to Make a Portable gOS3 USB with Persistence
- Download gOS 2 Gadgets ISO and burn to a CD
- Reboot your PC, booting from the Live CD
- Insert your USB flash drive
- Open a terminal and type sudo su
- Type apt-get update
- Type apt-get install syslinux mtools
- Now type fdisk -l to list available drives/partitions (note which device is your flash drive Example: /dev/sdb). Throughout this tutorial, replace all instances of x with your flash drive letter. For example, if your flash drive is sdb, replace x with b
- Type fdisk /dev/sdx
- type p to show the existing partition and d to delete it
- type p again to show any remaining partitions (if partitions exist, repeat the previous step)
- type n to make a new partition
- type p for primary partition
- type 1 to make this the first partition
- hit enter to use the default 1st cylinder
- type +750M to set the partition size
- type a to make this partition active
- type 1 to select partition 1
- type t to change the partition filesystem
- type 6 to select the fat16 file system
- type n to make another new partition
- type p for primary partition
- type 2 to make this the second partition
- hit enter to use the default cylinder
- hit enter again to use the default last cylinder
- type w to write the new partition table
- Remove and reinsert your flash drive
- Type mkfs.vfat -F 32 -n gOS /dev/sdx1 to format the first partition
- Type mkfs.ext2 -b 4096 -L casper-rw /dev/sdx2 to format the second partition
- Type syslinux -sf /dev/sdx1
- Remove and reinsert your flash drive again
- Type cd /cdrom
- Type cp -rfv casper dists install pics pool preseed .disk isolinux/* md5sum.txt README casper/vmlinuz /media/gOS
- Type cd /media/gOS
- Type wget pendrivelinux.com/downloads/gos3/syslinux.cfg
- Type cd casper
- Type rm initrd.gz
- Type wget pendrivelinux.com/downloads/gos3/initrd.gz
- Reboot your computer and set your BIOS boot priority or Boot Menu to boot from the USB device. Save your changes and proceed to boot from your gOS USB device.
If all went well, you should be booting from your very own portable Good OS Linux bootable USB. With the casper persistence feature enabled, you should also be able to save and restore some of your changes on each subsequent boot.


