Install Ubuntu Rescue Remix to USB; How to Create a Ubuntu Rescue Remix Bootable USB Flash Drive from within Windows. The following tutorial covers one method of installing and running (URR) Ubuntu Rescue Remix to a USB Flash Drive using a Windows PC and the Universal USB Installer to do the Boot creation. Upon completion, the distribution can then be booted and run from your removable device.
Created and maintained by Andrew Zajac, URR is a Linux system. It provides data recovery specialists with a simple command line interface. And it also comes equipped with some of the best free libre, open source data recovery and forensics tools available.
Keep in mind that you can also utilize a casper-rw loopback image file. This file is used for persistently saving changes, which can then be restored on subsequent boots.
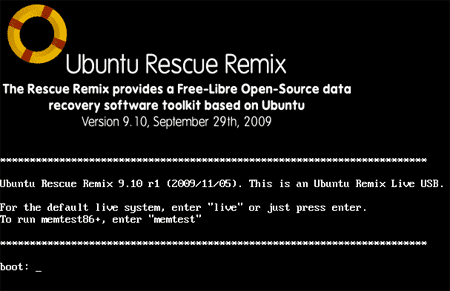
Ubuntu Rescue Remix running from USB

Distribution Home Page: ubuntu-rescue-remix.org
Minimum Flash Drive Capacity: 2GB (256MB without persistence)
Persistent Feature: Yes
Essentials:
- Windows PC to perform conversion
- Ubuntu Rescue Remix ISO
- USB flash drive (fat32 formatted)
- Universal USB Installer (does the conversion)
Install Ubuntu Rescue Remix to USB
- Download and then launch the Universal USB Installer.
- Select the Ubuntu Rescue Remix version you downloaded, and then follow the remaining onscreen instructions.
- Once the script has finished, restart your PC and set your BIOS or Boot Menu to boot from the USB device, save your changes and then reboot.
If all went well, you should finally be booting from your ubuntu rescue remix on USB.


